Welcome to Moda Fabrics!
Christmas in July ~ Candy Canes
Christmas in July ~ Candy Canes
I love candy canes. 
While I'm quite partial to the edible kind, most of the candy canes I have at the holidays are made of cotton. 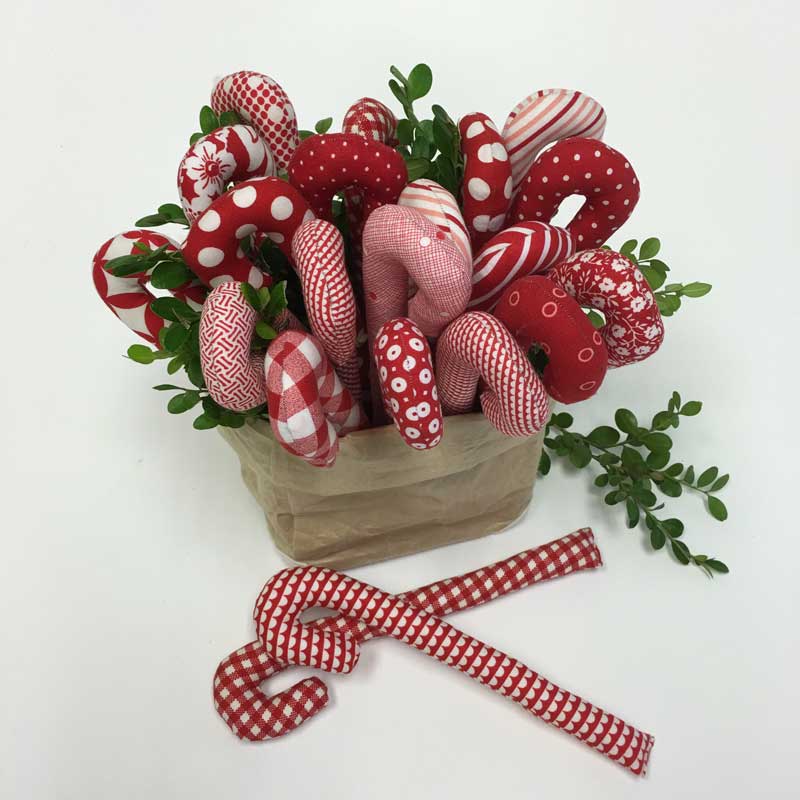 Many years ago, a friend had a big bucket full of these, all striped. Every time she'd see a red and white stripe fabric, she'd buy a little bit to add a few new canes to her collection. Not having that kind of foresight but having a lot of red and white prints, I went for a different kind of variety. One caveat - while these are easy to make, they aren't a done-in-a-day kind of project. The stuffing takes the longest, and then the canes will need at least a day or two to dry. But more on that in a bit. Here's what you need to know. Step 1. Download the template-instructions - Candy Cane Template. Step 2. Trace the template onto template plastic or cardboard. (I save the back pieces from Layer Cakes for this sort of thing.) There are advantages to each. The cardboard is easier to trace as there is a bit more edge to use against your pen or pencil. But the plastic template lets you adjust the fabric placement for stripes, checks, etc.
 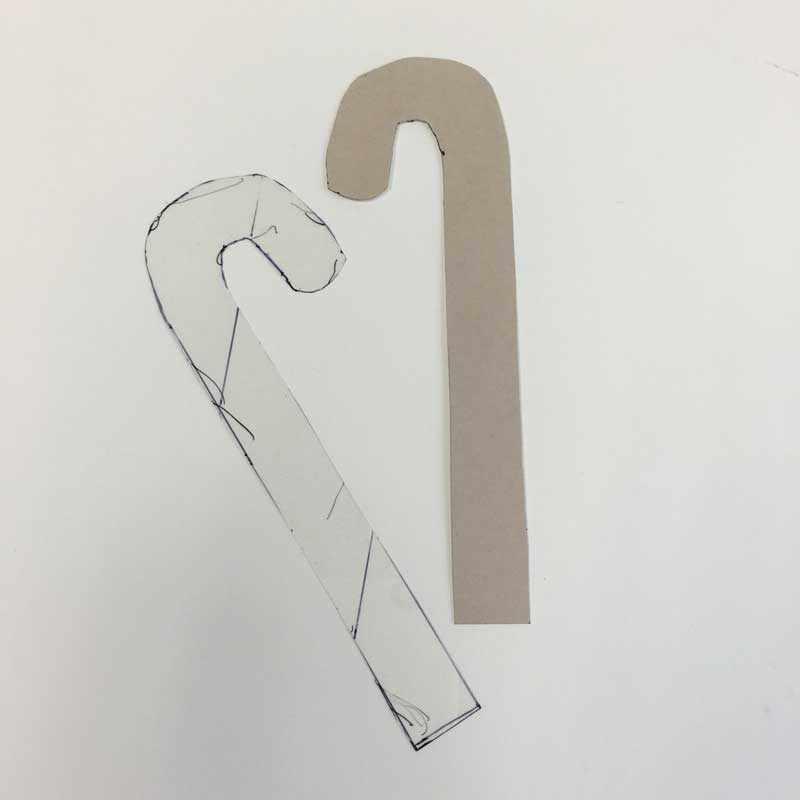 Step 3. Using a piece of fabric at least 6" wide by 9" long, fold the fabric in half lengthwise with right sides together so that it measures approx. 3" x 9". Step 4. On the wrong side of the double-layer of fabric, trace the template using a permanent pen or pencil. Trace as many candy canes as will fit leaving at least 1/2" between them - that's 1/4" seam allowance on both pieces.
 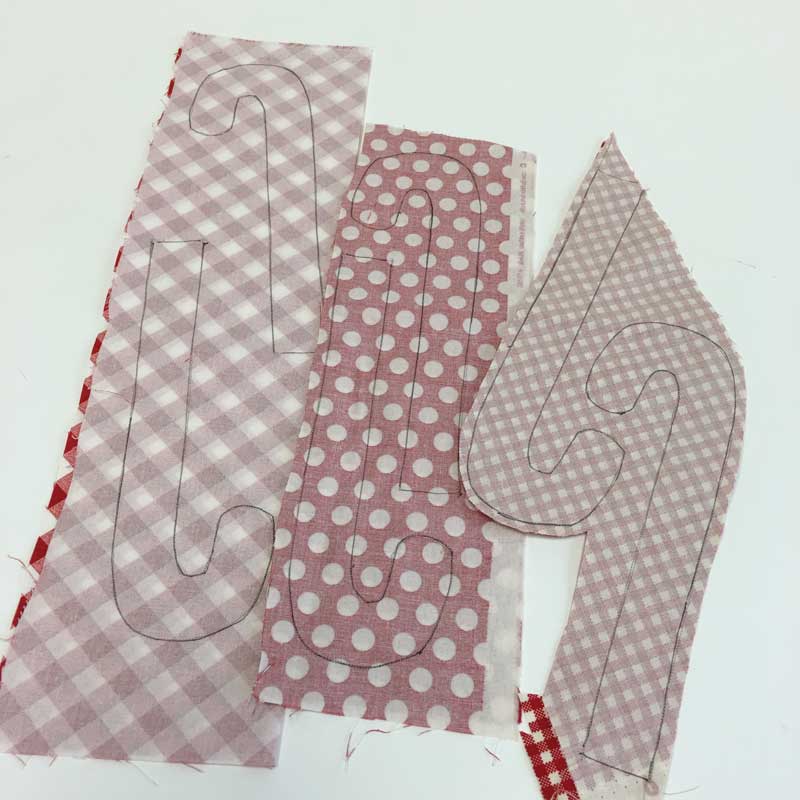 Step 5. Using a slightly smaller than usual stitch, stitch on the drawn line. Do not stitch across the bottom - leave that open. Step 6. Trim the seam to a 1/4" - leaving a 1/4" extra at the bottom of the candy cane. Step 7. Clip the curves or "scoop" them using a very sharp pair of small scissors. (These 5" embroidery scissors by Elan are perfect for the job.) The purpose is the same but the scoops seem to give the curves a smoother finish. Be careful not to clip or scoop too close to the seam.
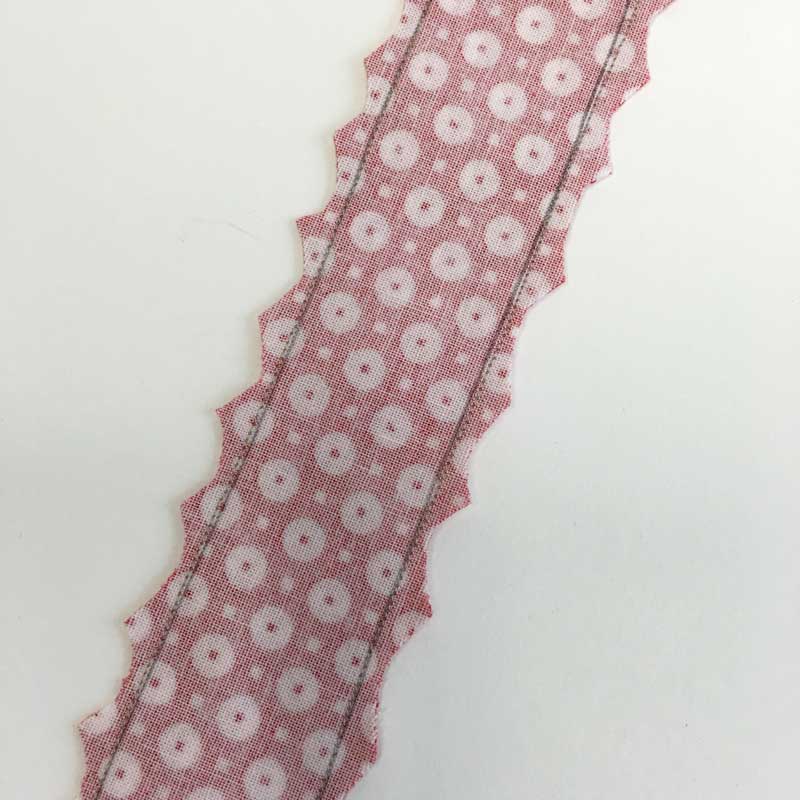
 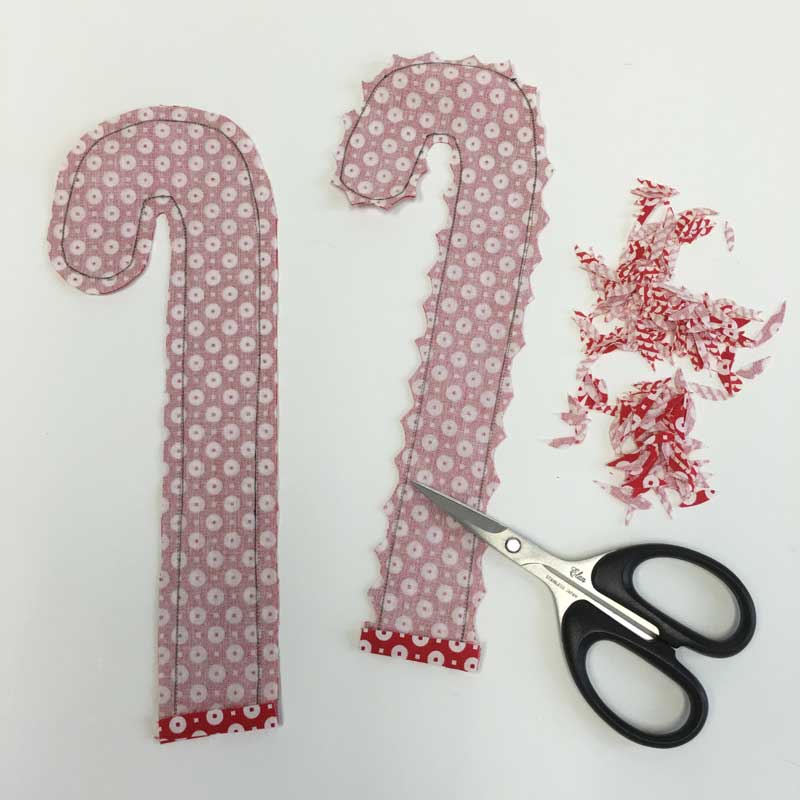 Step 8. As cute and collectible as they seem, throw away the little "seeds" you've scooped out. Really. Trust me on this one. Before turning the candy cane right-side out, press the 1/4" excess at the bottom edge as shown. Do this on both sides. I've found it makes stitching the opening closed a bit easier. This is what the scoops look like - up close. Please ignore the line of stitching that is not exactly on top of the drawn line.
  Step 9. Carefully turn the candy cane right side out. Use a knitting needle or chopstick to give the edges a good curve. Seriously, both "tools" work really well.) Press.
 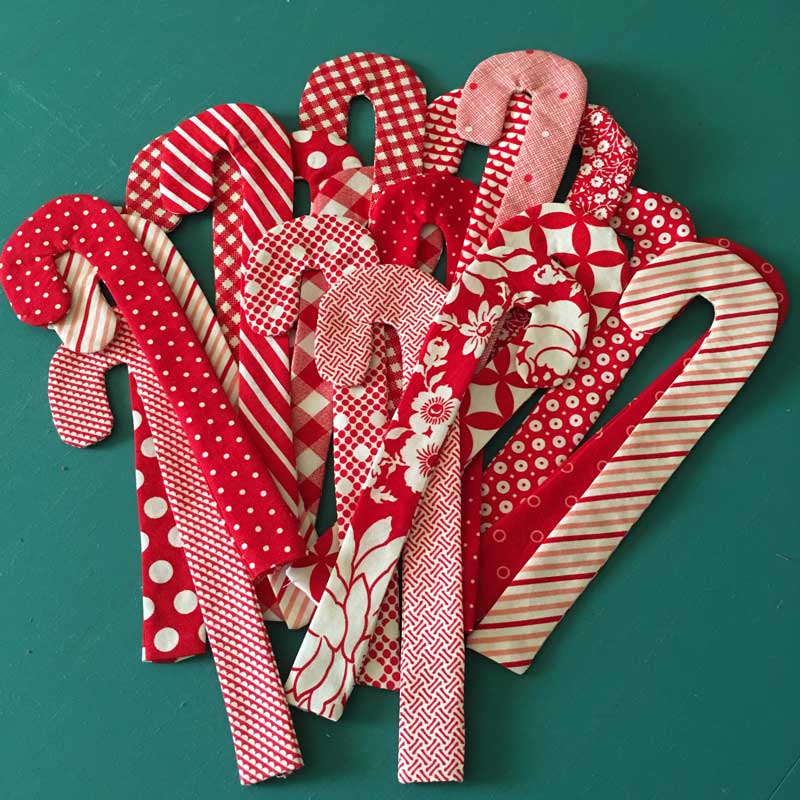 Now they're ready for stuffing.
 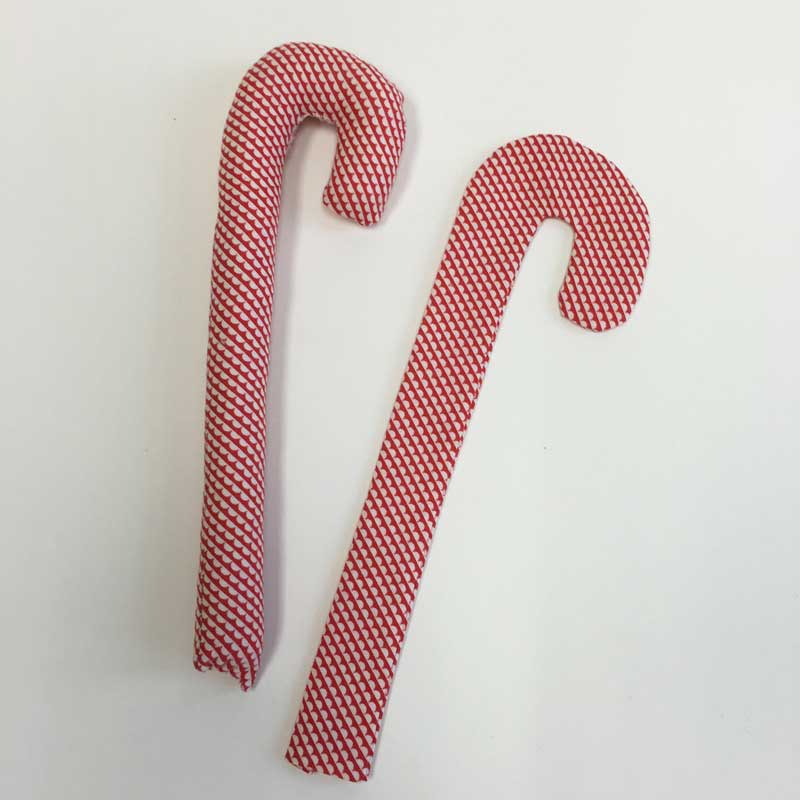 Step 10. Using small pieces of fiberfill - polyester or cotton - start stuffing the cane. The hook and tip of the candy cane is the hardest part - so go slowly and use small bits of fill. Be careful trying to stuff the canes too full, that's when the seams are mostly likely to split. Stuff to desired firmness - they should be firm enough to stand up if placed in a container. They are also going to get an application of fabric stiffener so "rock hard" is not required. Stitch the bottom closed - by hand or by machine. Note: If you should happen to poke a hole in the side of the candy cane while stuffing it, don't worry. Remove enough fiberfill that turning under the edges is possible, then stitch the opening closed using a tack- or slip-stitch. It will show a little bit when it's finished but depending on where the seam separated, it might not be noticeable at all. A hole on the outside edge will show more than one on the inside curve... ask me how I know. Step 11. Make as many candy canes as you can - more is better. (See above.) Step 12. Fill a flat baking dish measuring at least 10" long - glass, metal or aluminum foil will work - to approximately 1/2" with a water-based fabric stiffener. Any brand will work - I happened to find this one at my local craft store. Water-based because it makes clean-up much easier.
 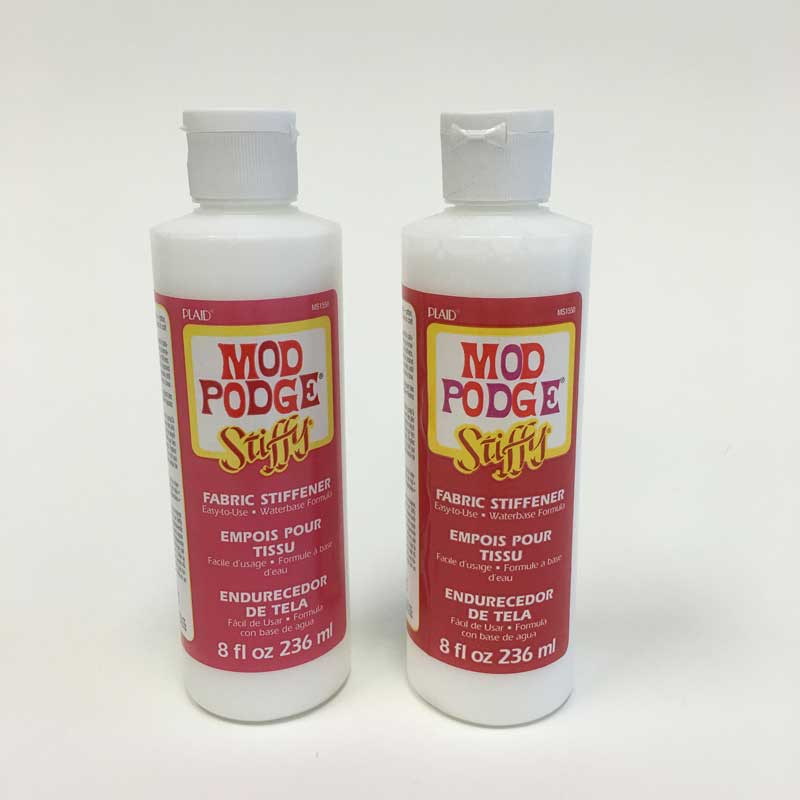 Step 13. Dip each candy cane in the fabric stiffener long enough to get it well-coated. Repeat on the other side. The candy cane should be fairly wet but it doesn't need to be soaked all the way through. Let dry. The best way to do this is to let the candy canes hang from a hangar or clothesline. The next-best option is to let them dry on a cooling rack - but preferably not the same one you use for Chocolate Chip Cookies. That's it! Now comes the hard part... finding lots of red and white fabric.
 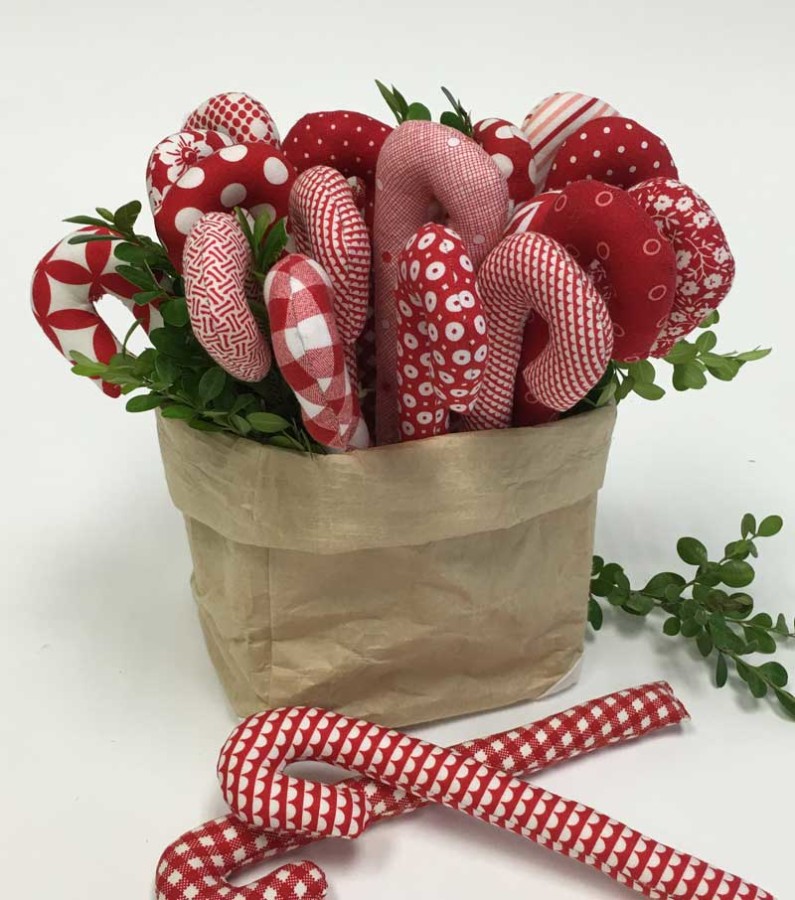 (P.S. My candy canes are all made with leftover pieces from a whole lot of Bonnie & Camille collections.)

Comments