Welcome to Moda Fabrics!
A Thousand Good Wishes Quilt
A Thousand Good Wishes Quilt
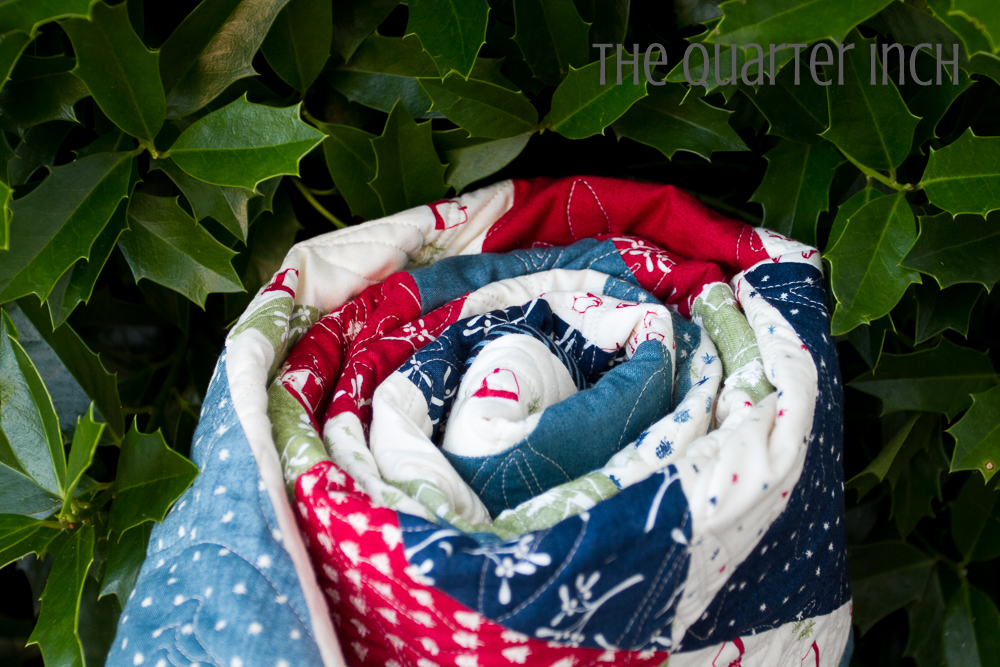
This generous throw sized quilt is perfect for snuggling under with a loved one. A thousand pyramid quilt is a great choice for winter fabrics as the triangles bring to mind a forest of trees. This version makes use of the light fabrics for the background triangles and dark for the focal triangles. There are also three larger triangles formed using the darker fabrics for more visual interest.
The quilt finishes at 69" by 70".
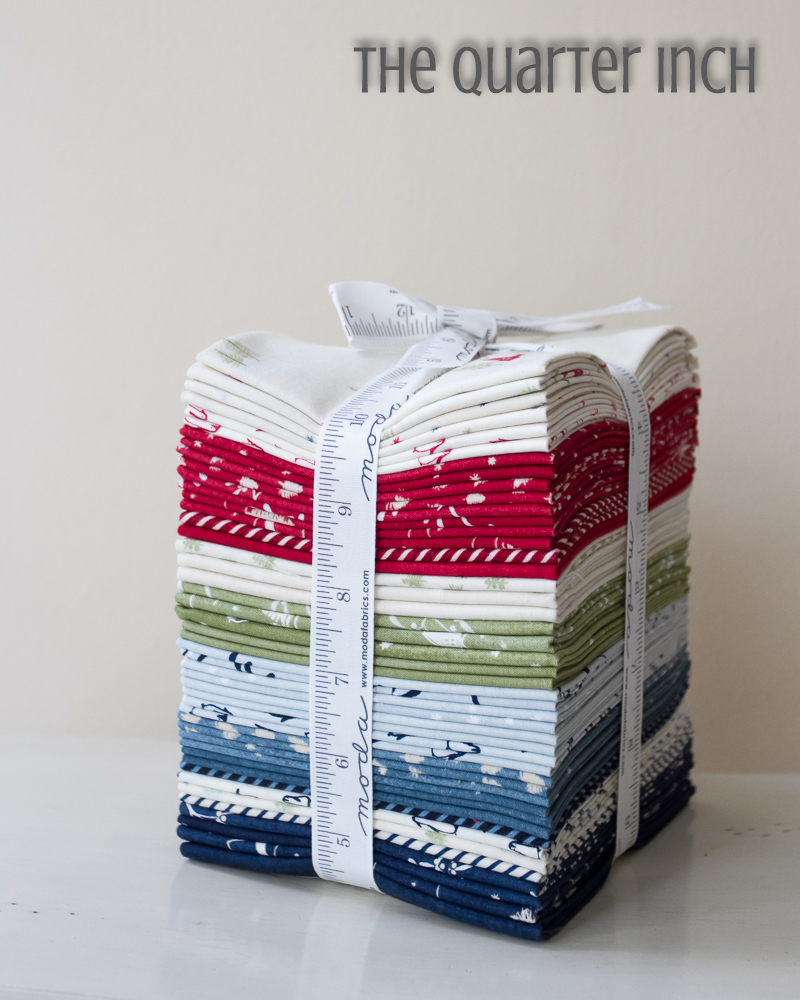
13 fat quarters of dark and medium fabrics {I used Wintertide by Janet Clare}
10 fat quarters of background fabric OR 3 yards of background fabric if using a single fabric for the background
4 1/2 yards backing fabric
3/4 yards binding fabric
60-degree triangle ruler (I used the Fons and Porter ruler; look for a 60-degree ruler that has a blunted top side, rather than a point on the top of the ruler)
A note on directional prints:
If you are using a direction prints, you will want to purchase extra fabric if you wish for the directional print to face in the same direction. You can cut 15 triangles per fat quarter of a print is non-directional, but only 9 if they need to be cut facing the same way. Since this line uses directional prints, I used 18 different prints for the dark and medium fabrics.
From each fat quarter, cut three strips measuring 5 ½” by 22”. Make sure you are cutting strips from the 22” side of the fat quarter!
Using the 60-degree ruler, cut five pyramids from each strip.
To cut triangles with the ruler, line the bottom edge (opposite the blunt tip) up with the bottom of the 5 ½” strip. Cut up the side of the ruler. Reposition the ruler so that the bottom edge is now at the top of the strip and the side of the ruler is aligned with the cut you just made. Continue cutting in this manner along the strip.
If you are using directional prints, make sure you begin cutting each light-colored with the tip of the triangle oriented down. For the dark-colored fabrics, cut with the tip oriented up. This will allow you to cut three correctly oriented triangles per strip instead of two.
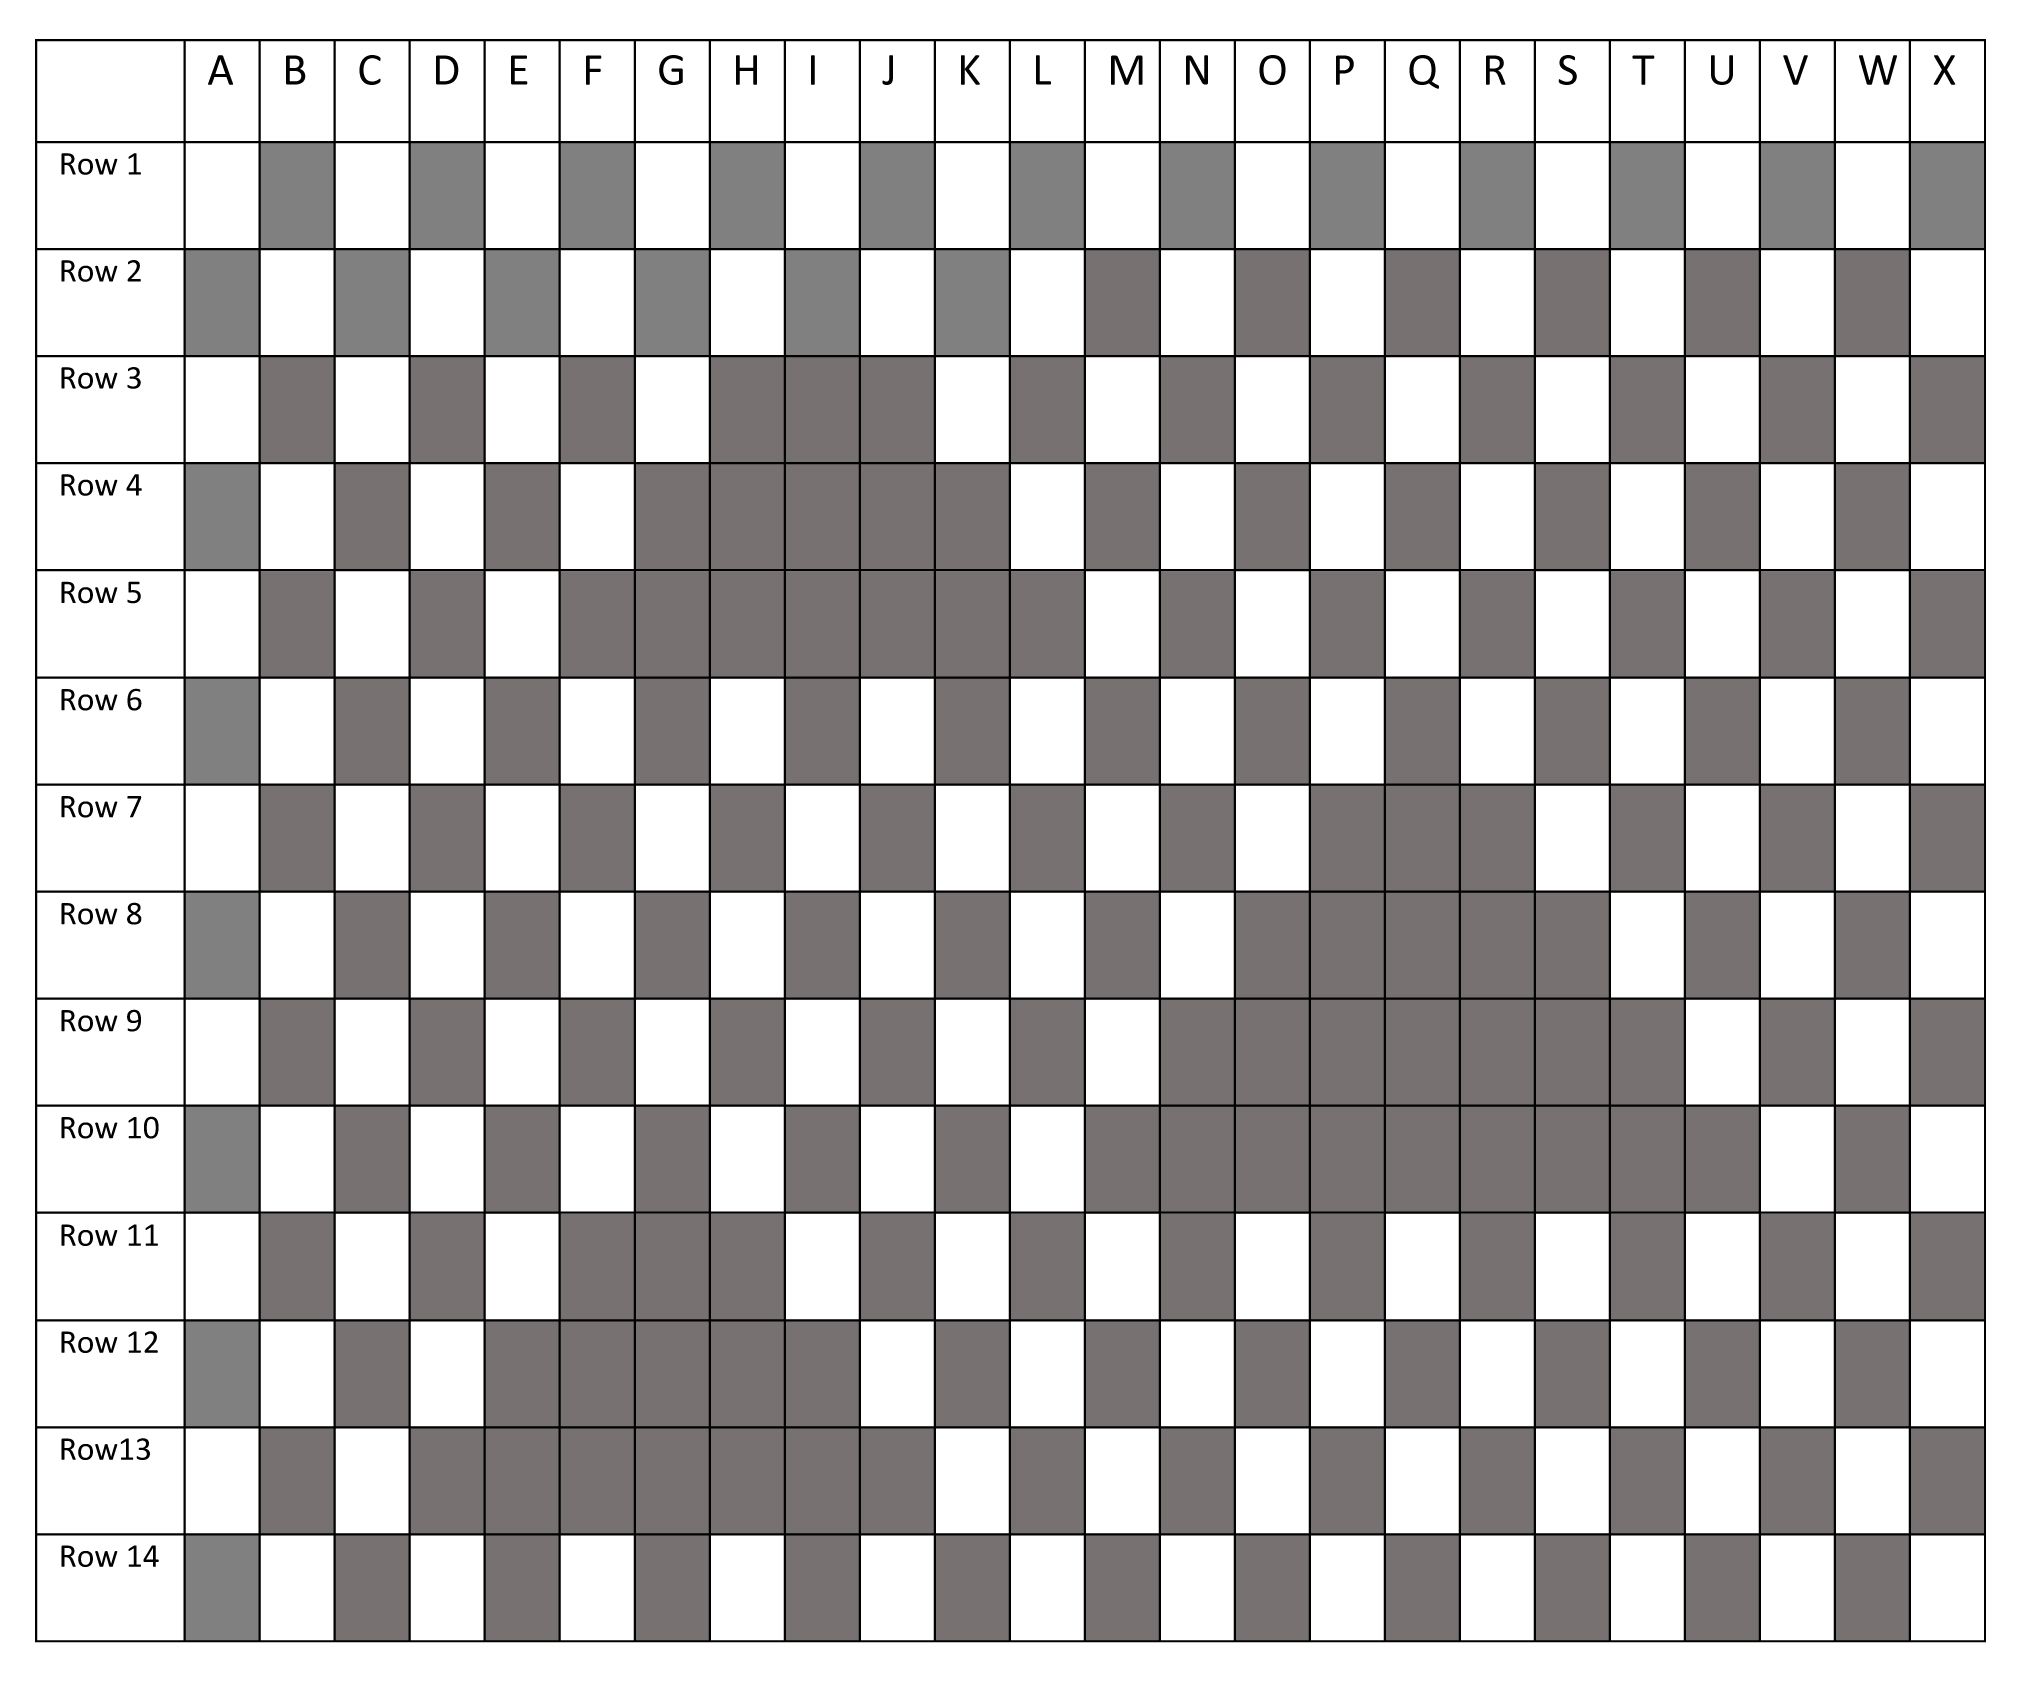
Once you have your triangles cut, begin laying out rows. The rows will generally alternate between light and dark triangles, with the dark triangles pointing up and the light triangles pointing down. Odd numbered rows begin with a light triangle and even numbered rows begin with a dark triangle.
Several rows include dark triangles pointing down. These will form the larger triangles in the quilt. Refer to the chart below for the placement of those triangles.
Working row by row, sew the quilt top.
To sew triangles together, take the first two triangles in the row. Position the tips with the blunt edges on the top and the bottom.
Place the triangles right sides together, making sure the blunt edge nestles in the tip and the stitch line crosses over right at the quarter inch intersection.
Press towards the darker fabric.
Continuing adding triangles in this manner until you have finished the row.
Clip dog ears.
When joining rows, nestle the points of the triangles together. Pin and sew. Press the seams open.
Using a long ruler, trim the sides of the quilt one-quarter inch past the intersection of the triangles.
Baste, quilt, and bind.
I quilted the quilt on a longarm machine using the Leaves and Berries pattern.
This quilt finishes at 69" by 70".
Though it’s summer for many of us and might seem like an odd time to be thinking about winter quilts, it’s not too early to begin planning for Christmas projects. The cold weather will be here before we know it!
Christine Weld
The Quarter Inch


Comments