Welcome to Moda Fabrics!
Perfect Picnic Play Mat
Perfect Picnic Play Mat
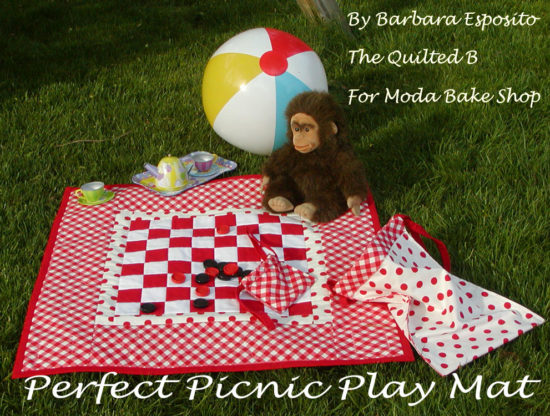
This Perfect Picnic Play Mat is just the thing to take along to the park, beach, or camping! It can be made in an afternoon and it includes a pouch for the checkers and a take along bag to keep everything handy. Spread it out for your lunch when the game is over!
This quilt finishes at 30" by 30".
A total of 10 Jellyroll strips - 8 Red and 2 White Bella Solids (You may just want to get one red and one white Junior Jellyroll...these are so easy and can be addicting!)
Two each red and white for the board, three red for the binding, three red for the bag ties.
One Yard Bonnie and Camille Basics Red Gingham 55124
One Yard Dottie White and Christmas Red 45008 11
Batting of your choice approximately 32" by 32"
NOTE: all seams are 1/4" unless otherwise stated.
The Checker Board
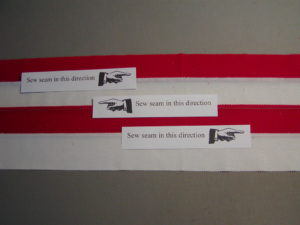
Begin with two red and two white Jellyroll strips. Sew them together alternating colors so you have a strip set four rows high by the length of the Jellyrolls. Press the seams in the same direction.
TIP: sew the strips together in opposite directions to keep them from bowing. It really works!
I do not use steam when I press the strip sets (despite the fact that my sister Nancy insists it is necessary for a good crease ;o). The steam can distort the shape of the strips and then your checker mat can get all wonky!
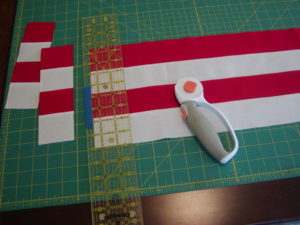
Next, sub-cut this strip set into sixteen 2-1/2" strips. Be sure to check the straight edge every few cuts, as I am sure you know how often fabric misbehaves.
Now sew two of these strip sets together end to end, white to red. Be sure your pressed seams lay in the same direction.
Repeat with all 16 strips for a total of eight 8-block strips.
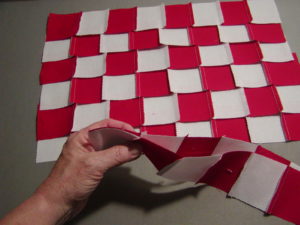
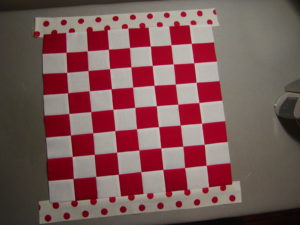
Sew these 8 strips together being sure to "nest" the seams, flipping alternating rows to form the checker board pattern. Press row seams in the same direction.
Inner Border
Square up your checker board if necessary.
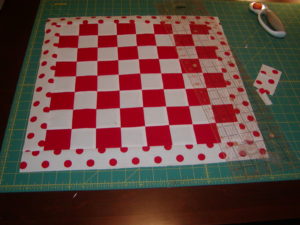
From the Dottie fabric, cut two 2" strips and cut these in half.
Sew the first half strips to the top and bottom of the checker board.
Trim the borders and then sew the second set of half strips to the sides, trimming the side strips as well.
Outer Border
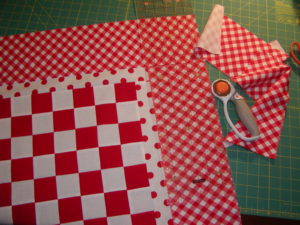
Cut three 6" strips from the Bonnie and Camille Gingham.
Cut one strip in half and sew these pieces to the top and bottom as you did with the inner border.
Sew each of the remaining 6" strips to the sides, lining up the fabric so you waste as little as possible. You're going to use the left over pieces of these strips to make the storage bag for the checkers.
Square up your mat if necessary.
Finishing up the mat
Lay out the rest of the Dottie fabric.
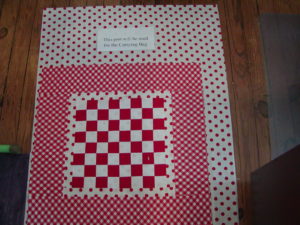
Trim the Dottie fabric for the backing, being sure to save the unused fabric for the Carrying Bag.
Layer your mat, batting, and backing. Quilt as desired (stitch in the ditch around the checker squares).
Bind with three of the red Jellyroll strips.
Checker Storage Bag
Square up the pieces you trimmed from the Bonnie and Camille Gingham outer border strips.
Place them right sides together and stitch 1/4" around leaving about a 2" opening.
Trim the corners and turn the bag right side out through the 2" opening.
Press and stitch the opening closed by hand or machine.
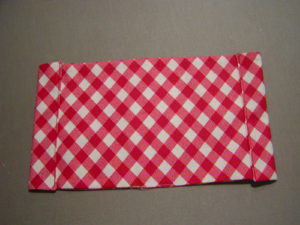
Now press down about 1" on both short ends making the casings for the drawstrings.
Stitch the casings close to the edge.
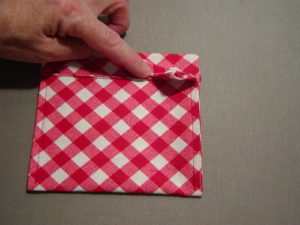
Fold the bag in half with the casing on the outside. Stitch 1/4" seam up both sides of the bag stopping just under the casing.
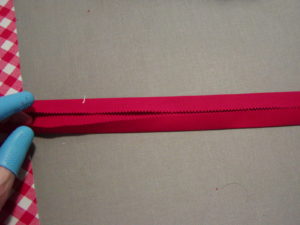
Make the drawstring for this bag from one red Jellyroll Strip by making double fold binding and sewing up the open side.
Hint: Make all three ties at once - one for the Checker Storage Bag and two for the Carrying Bag.
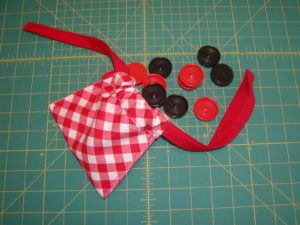
Cut this drawstring strip in half to make two drawstrings and thread them through the casings. Sew or knot the ends together.
Carrying Bag
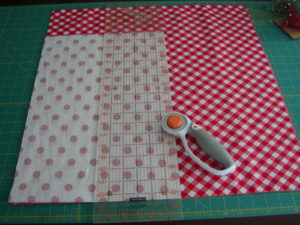
Square up the remaining Dottie fabric and lay it right sides together on the Bonnie and Camille Gingham fabric. Trim them both even.
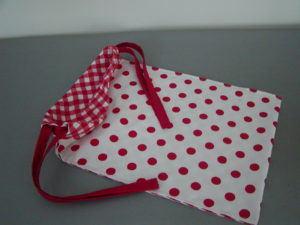
Sew the Carrying Bag using the same method you did for the Checker Storage Bag. You will use two Jellyroll strips for each drawstring.
Now stow the mat and checkers in the Carry Bag, pack a picnic lunch, and head for the park!
This quilt finishes at about 30" by 30".
I buy my wooden checkers from a small company in Maine - Casey's Wood Products (caseyswood.com). They are very nice wooden checkers, very reasonably priced, and I like to try to shop small businesses when possible!
I'd love to see what you make! Share your Perfect Picnic Play Mats with me @thequiltedb
Barbara Esposito





Comments